


Fair Food
Order by 7pm for next day delivery Monday to Saturday
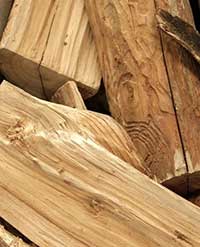
Fair Wood
Open Monday to Friday
9am - 4.30pm
Open Saturday
9am - 2pm
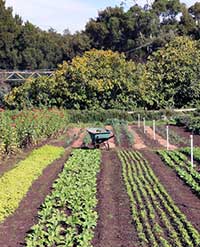
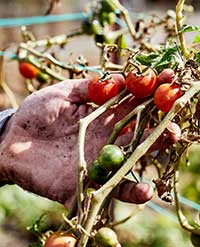
Joe's Market Garden
Open Monday to Sunday
9am - 1pm
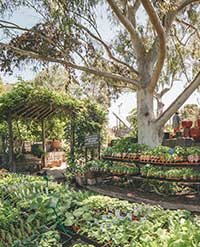
Nursery
Open Monday to Sunday
9am - 5pm

Grocery & Bakery
Open Monday to Saturday
9am - 5pm
Open Sunday
9am - 4pm

Merri Cafe
Open Monday to Sunday
8.30am - 3pm
School of Nature & Climate
Open Monday to Friday
9am - 5pm

Venue & Events
Online Monday to Friday
9am - 5pm